COBB Accessport Uninstall & Reinstall for 30K Service
Step-by-step guide to uninstalling and reinstalling the COBB Accessport on a 2024 Tacoma Trailhunter i-FORCE MAX before dealer service.
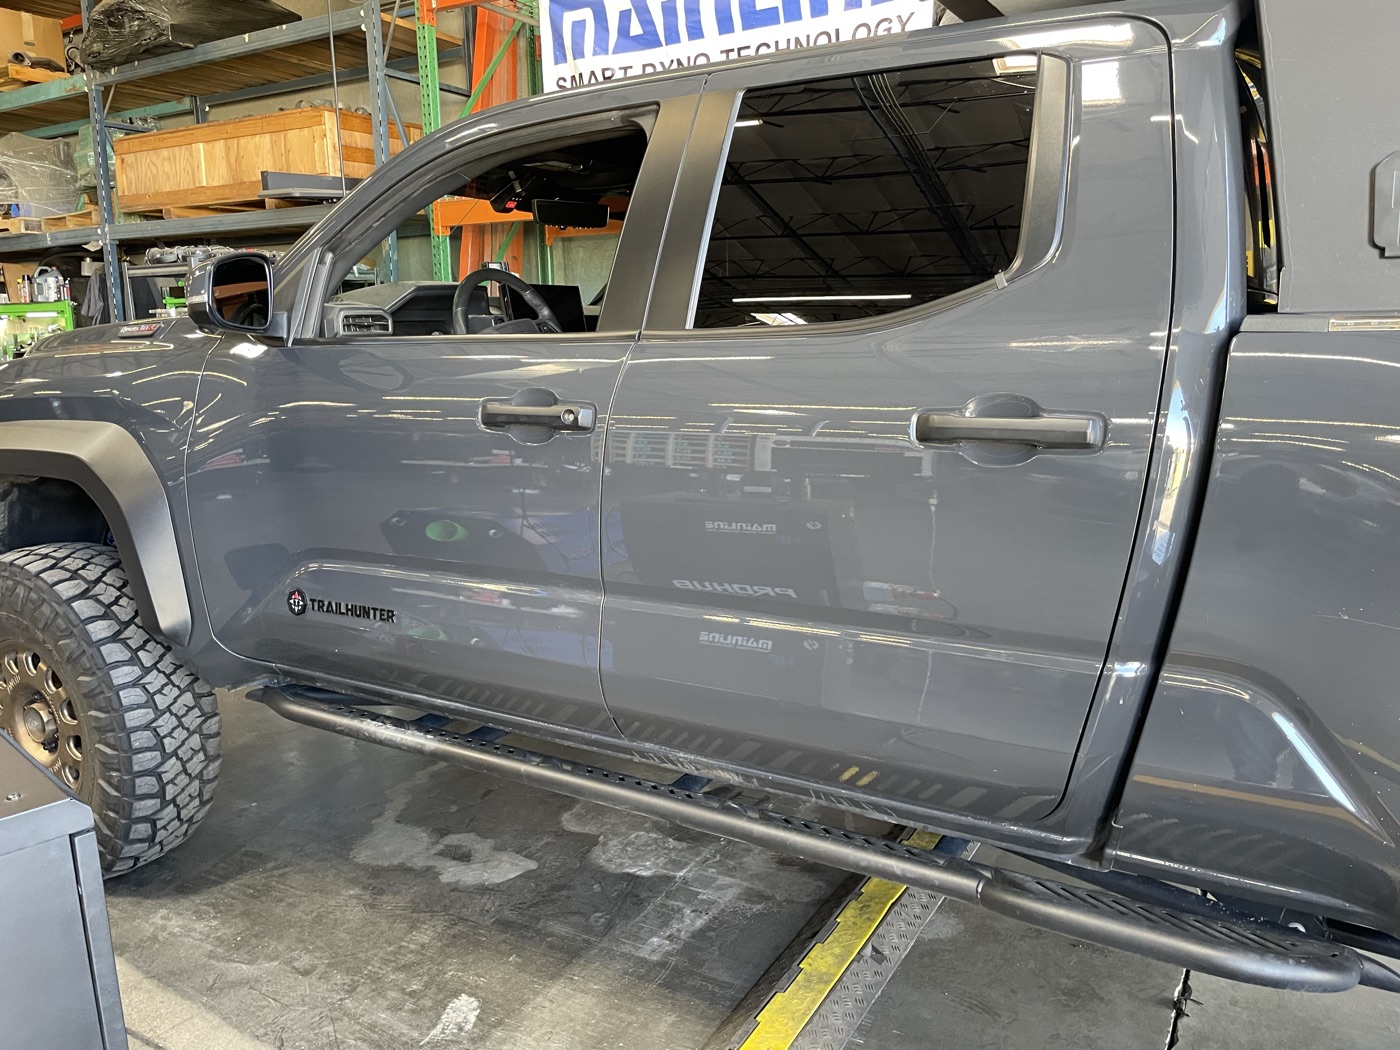
The Tacoma Trailhunter is hitting 30,000 miles tomorrow, which means it’s time for its first major dealer service. Oil change, tire rotation, multi-point inspection — the usual. But when you’re running a COBB Accessport with a custom tune from CAMTuning Performance, there’s an extra step before you hand the keys over: uninstalling the AP to return the ECU to stock.
This is something every tuned truck owner needs to know. Dealers can (and will) update ECU firmware during service, and if your AP is still married to the ECU when that happens, things get complicated. Here’s the full process, documented step by step.
Why Uninstall the COBB Accessport Before Dealer Service
The COBB Accessport works by “marrying” to your vehicle’s ECU — on the Trailhunter’s i-FORCE MAX powertrain, that means both the engine and transmission control modules. It stores the factory calibration and overwrites it with the selected tune map. If a dealer performs a factory ECU update while the AP is still installed, the AP’s stored calibration becomes invalid. You’d need to re-pair from scratch, and depending on the update, your existing tune maps may need revision.
The simple fix: uninstall before service, reinstall after. Takes 15 minutes total and saves you a potential headache.
The Uninstall Process (Before Service)
What You Need
- COBB Accessport (already married to the vehicle)
- OBD-II port access (driver side, under the dash)
- 15 minutes of patience
- Key in the ignition (engine OFF)
Step 1: Update Accessport Manager
Before touching anything on the truck, connect the AP to your computer via USB. Open Accessport Manager and let it check for firmware updates. You want the device current before any flash operations.
Step 2: Plug Into OBD-II Port
The OBD-II port on the Tacoma is under the dash on the driver’s side. Plug the AP in and let it boot up. It should recognize the vehicle and show the main menu.
Step 3: Select “Uninstall”
Navigate to Uninstall on the AP screen. This is the key step — the AP will:
- Read back the stored factory ECU calibration
- Rewrite the ECU with the original stock mapping
- Restore the TCU (transmission control unit) to factory settings
- Unpair itself from the vehicle
Important: The CAN bypass harness is NOT required for uninstall. That’s only needed for the initial install. Uninstall is straightforward — just the AP and the OBD port.
Step 4: Follow On-Screen Prompts
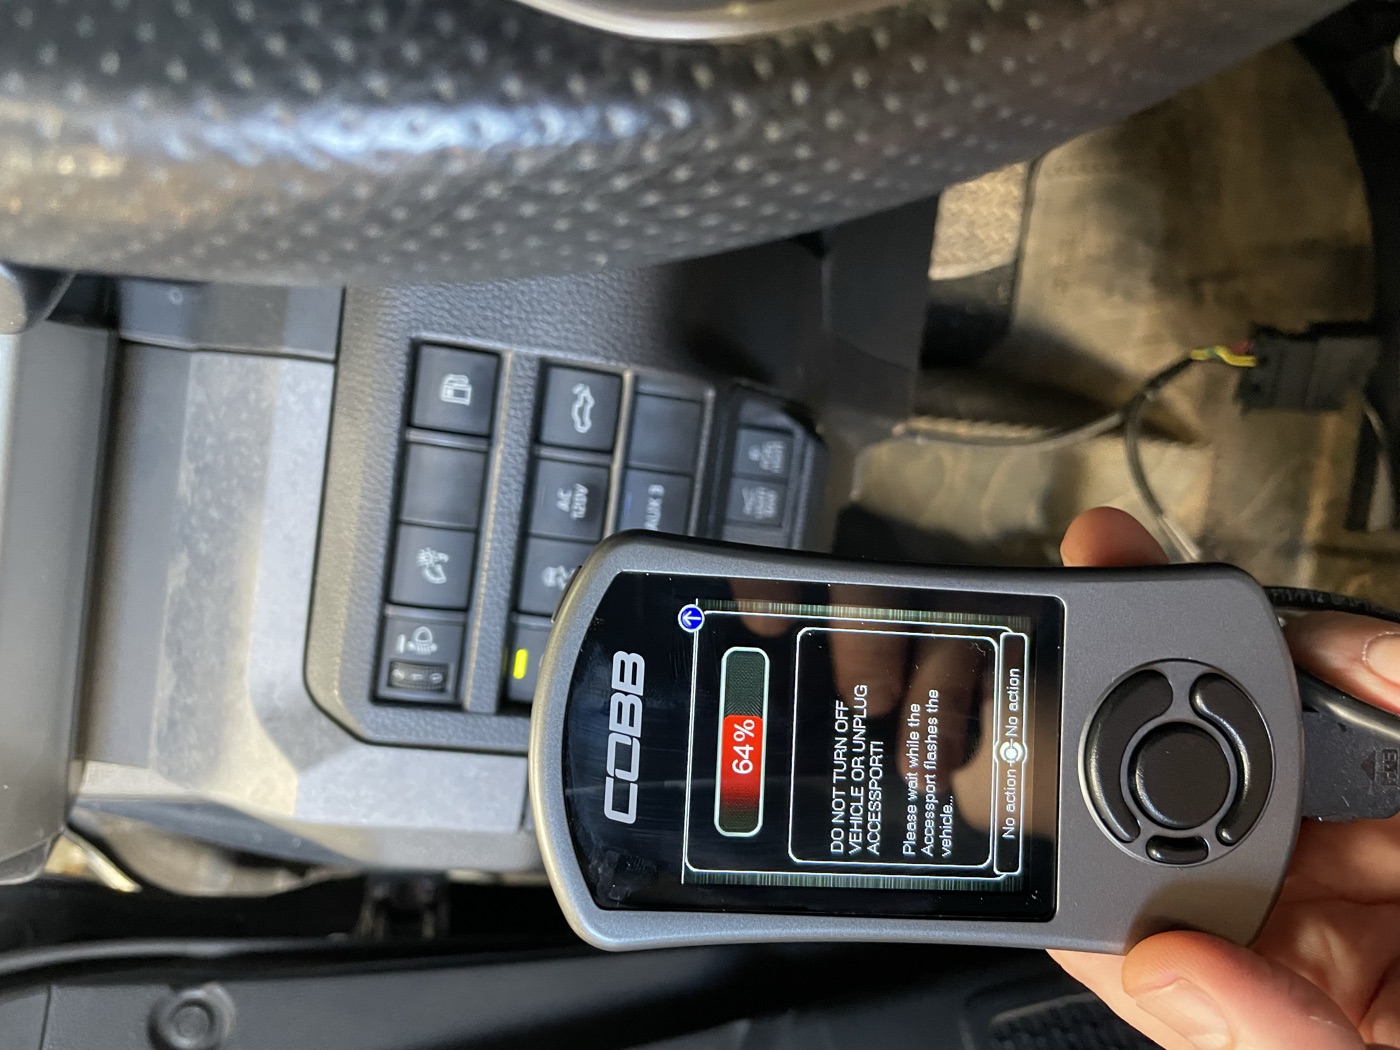
The AP will walk you through it. Do not interrupt power during the flash. Don’t turn the key, don’t unplug the AP, don’t bump the OBD cable. The screen will show a progress bar and clear warnings about what not to do. Let it run.
How long does it take to uninstall the COBB Accessport? About 5-10 minutes depending on the number of modules being reflashed. Reinstall takes a bit longer — 15-20 minutes with the CAN bypass harness setup.
Step 5: Confirm and Unplug
Once complete, the AP will confirm the uninstall was successful and show itself as “unmarried” — meaning it’s fully unpaired from the ECU. Turn the key off, unplug the AP from the OBD port, and you’re done. The truck is now returned to stock and safe for the dealer to connect Techstream and run diagnostics without seeing any aftermarket calibration.
Pro tip: Store the AP somewhere safe while the truck is at the dealer. I keep mine in the center console, but some people take it with them to avoid questions.
The Reinstall Process (After Service)
Once you get the truck back from the dealer, it’s time to re-marry the AP. This is essentially the initial install process again, so it takes a bit more effort than the uninstall.
Step 1: Check for Dealer ECU Updates
Before reinstalling, it’s worth knowing if the dealer flashed any ECU updates. Check your service paperwork or ask. If the ECU or TCU firmware changed, your AP will detect the new calibration during install — this is normal.
Step 2: Install the CAN Bypass Harness
Unlike uninstall, the CAN bypass harness IS required for reinstall. This was included with your AP or your tuning package. It needs to be installed per COBB’s instructions before you begin the flash process. The bypass harness enables proper ECU programming by isolating the CAN bus during the write.
Step 3: Plug In and Select “Install”
Connect the AP to the OBD-II port, navigate to Install, and follow the on-screen instructions. You’ll select your tune map — for a CAMTuning remote tune, this is typically Stage 0 – Simulated Stock TCM unless Cameron has instructed you to go with Stage 1 or another map.
Step 4: Observe All Wait Timers
This is where patience matters. The AP will prompt you with key-off wait timers between flash stages. Follow them exactly. The ECU needs time between module writes to reinitialize. Rushing through the wait timers can cause communication errors.
The AP screen shows a progress bar during each flash stage. The photo above shows the AP mid-flash at 64% — you can see the clear warning: “DO NOT TURN OFF VEHICLE OR UNPLUG ACCESSPORT.” Take that seriously.
Step 5: Remove Bypass Harness
After the flash completes and the AP confirms success:
- Turn the key OFF
- Unplug the Accessport
- Remove the CAN bypass harness
- Reinstall the factory CAN terminator block
That last step is critical. Failure to reinstall the CAN terminator causes network communication errors. Dashboard warnings, weird behavior, the works. Don’t skip it.
Step 6: Verify Everything
Start the truck and let it idle for a minute. Check for any dashboard warnings (temporary ones during the first start after a flash are normal and should clear). Take it for a short drive — the ECU will need a few drive cycles to fully relearn your driving patterns with the new calibration.
Tips from Experience
Keep Accessport Manager updated. Before any flash operation, check for AP firmware updates. Outdated firmware is the number one cause of flash errors.
Configure Auto Off. The AP draws power from the OBD port even when the truck is off. COBB has an Auto Off setting — enable it to prevent battery drain, especially if you leave the AP plugged in between drives.
Save your tune files. Before uninstalling, make sure your current tune maps are backed up on your computer via Accessport Manager. If the dealer does a major ECU update, Cameron at CAMTuning may need to revise the tune for the new firmware baseline.
Don’t panic about dashboard warnings. After both install and uninstall, you might see temporary warning lights. This is normal — the ECU is reinitializing its module communications. They should clear within a key cycle or two.
Communication errors after reinstall? If you get persistent errors after reinstalling, the fix is almost always the CAN terminator. Reinstall it, turn the key off, wait 30 seconds, then re-select your map on the AP.
Does uninstalling the COBB Accessport affect your warranty? Returning to stock before service means the dealer sees factory calibration on Techstream — no aftermarket flags. This doesn’t guarantee warranty coverage on tuning-related issues (that’s a longer Magnuson-Moss conversation), but it avoids raising red flags during routine maintenance. Uninstall before, reinstall after, and the dealer has no reason to look twice.
Have questions about running a tune on a modified Tacoma? Get in touch — happy to share what I’ve learned.
The 30K Service Rundown
Per the official 2024 Toyota Tacoma Warranty & Maintenance Guide, here’s what Toyota calls for at 30,000 miles on a 4WD Trailhunter:
Replace / Service:
- Engine oil and filter (0W-20 synthetic)
- Tire rotation
- Engine air filter replacement
- Cabin air filter inspection / replacement
- Front differential oil change (4WD — this is a big one)
- Propeller shaft lubrication (4WD)
- Propeller shaft bolt retorque (4WD)
Inspect:
- Automatic transmission for leakage
- Brake lines, hoses, and pads
- Driveshaft boots (4WD)
- Exhaust pipes and mountings
- Steering gear
- Engine coolant level and condition
- Fuel tank cap gasket
- Fuel lines and connections
- Drive belts
- Wiper blades
That’s a longer list than most people expect. The Tacoma World forums will tell you 30K is “just an oil change and tire rotation” — and that’s technically what ToyotaCare covers. But the full factory maintenance schedule has a lot more inspection items, and the 4WD-specific services (front diff fluid, propeller shaft lube and retorque) are legit maintenance items you don’t want to skip.
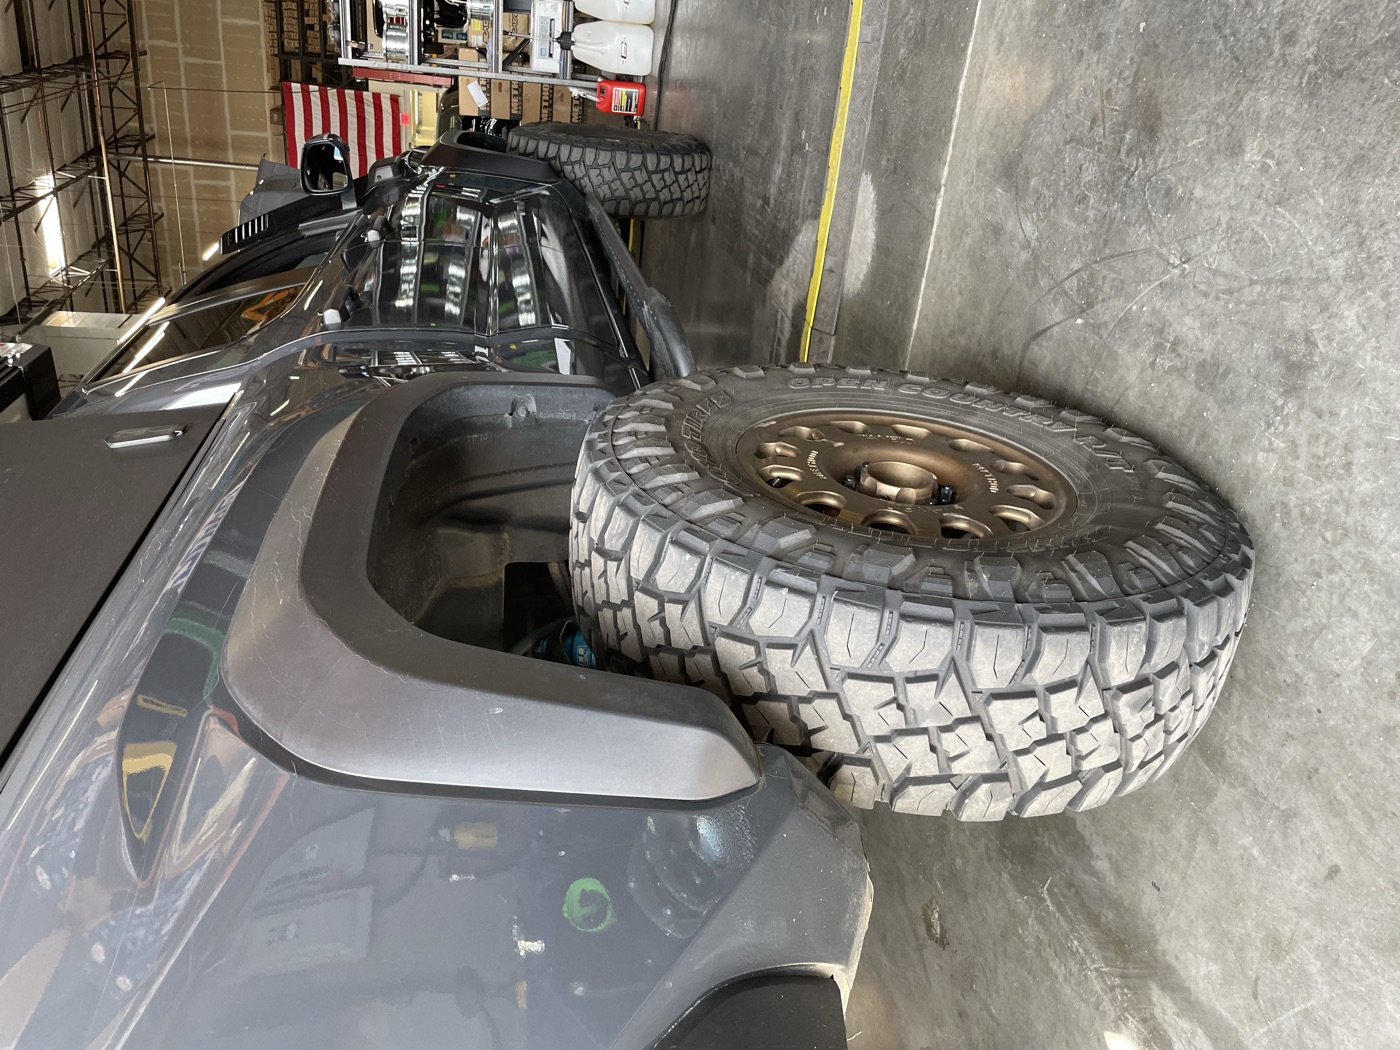
With portals, 37s, and Kings on the build, the dealer is going to have some fun with this appointment. The COBB Accessport goes back on as soon as I pick it up.
Resources
- COBB Accessport Manager Download
- CAMTuning Performance — Accessport Install/Uninstall Guide
- COBB Accessport Auto On/Off Setting
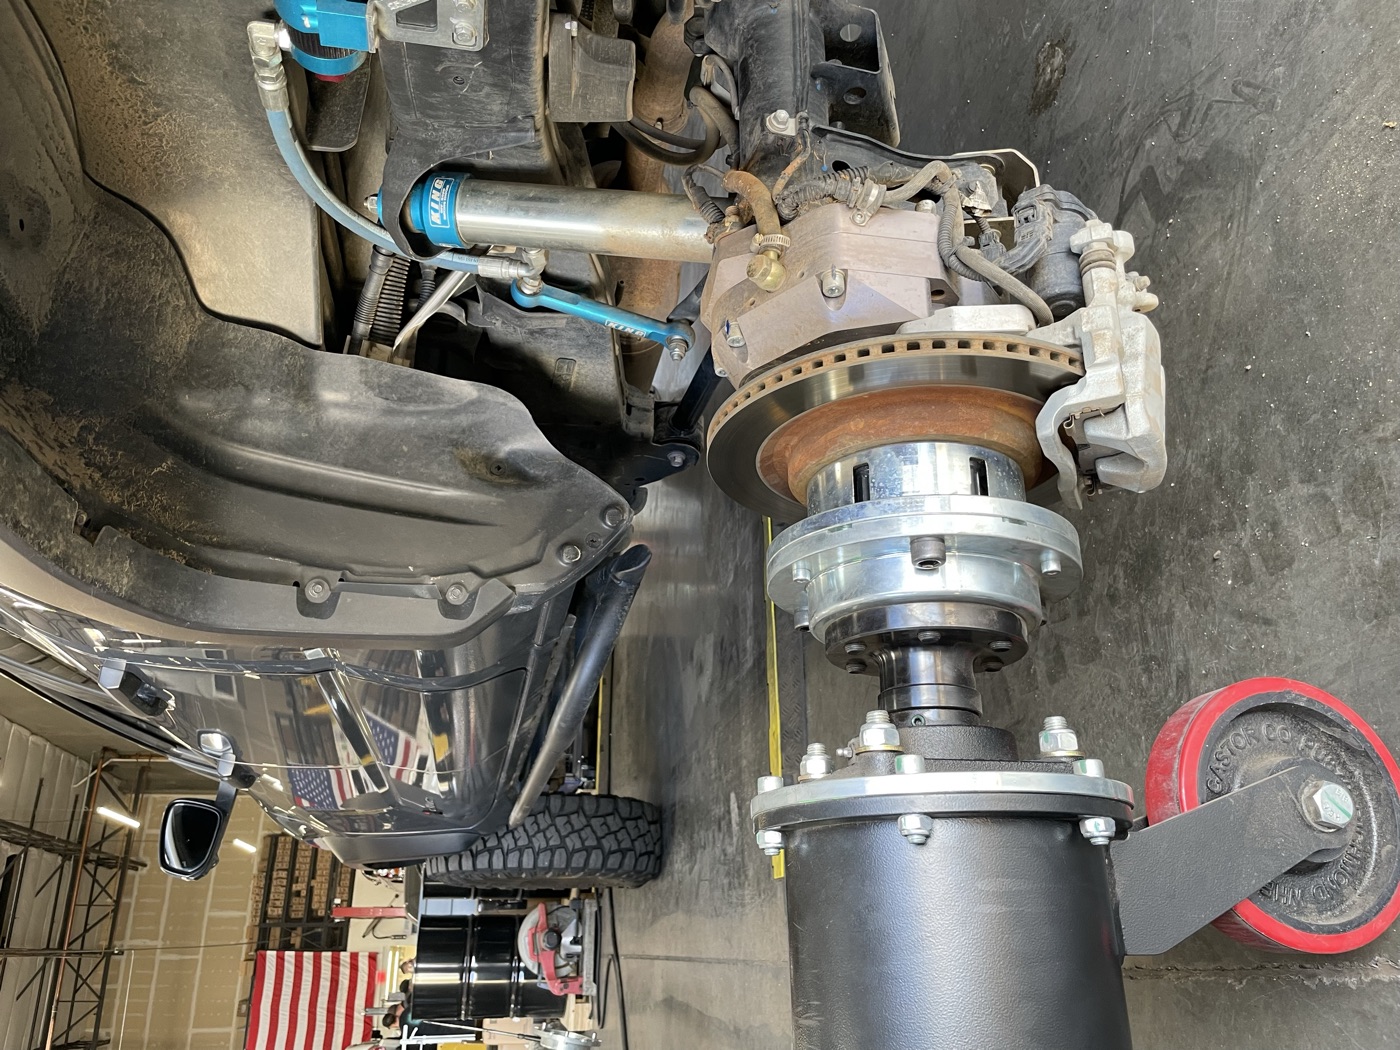
Photos taken at the shop with Cameron during the portal axle install session — figured I’d document the COBB Accessport process while we were in there. Got a build question? Reach out.